
Kombucha is simple.
It’s a fizzy, frothy, fermented beverage. It only has a few ingredients and is surprisingly easy to make. Plus it’s good, I mean really good, and likely really good for you. It is one of just a few drinks we keep around the house. Fresh milk and milk kefir, water and water kefir round out the beverage menu. That’s it. No store-bought drinks. No fruit juices.
For seven years, I’ve made a weekly batch of organic kombucha. {We’re up to 4 1/2 gallons a week for the six of us—okay, the 5 1/2 of us. One of us—not me, of course—is an irregular drinker.} First, I bought it by the case. Then, I decided to try my hand at making it.
Kombucha is touted by many as being loaded with health benefits galore. It is most popularly praised for having high levels of:
- glucuronic + acetic acids {liver cleanser + blood sugar stabilizer, respectively}
- probiotics {our gut-friendly friends kindly boosting digestive + immune health}
Whether or not these radiant health claims are true, kombucha is delicious.
And it’s pretty simple to make.
And arguably, homemade kombucha is better than anything else out there if your quality versus cost scale is anything like mine. I’m always looking for the best quality everything, and the price has to be right.
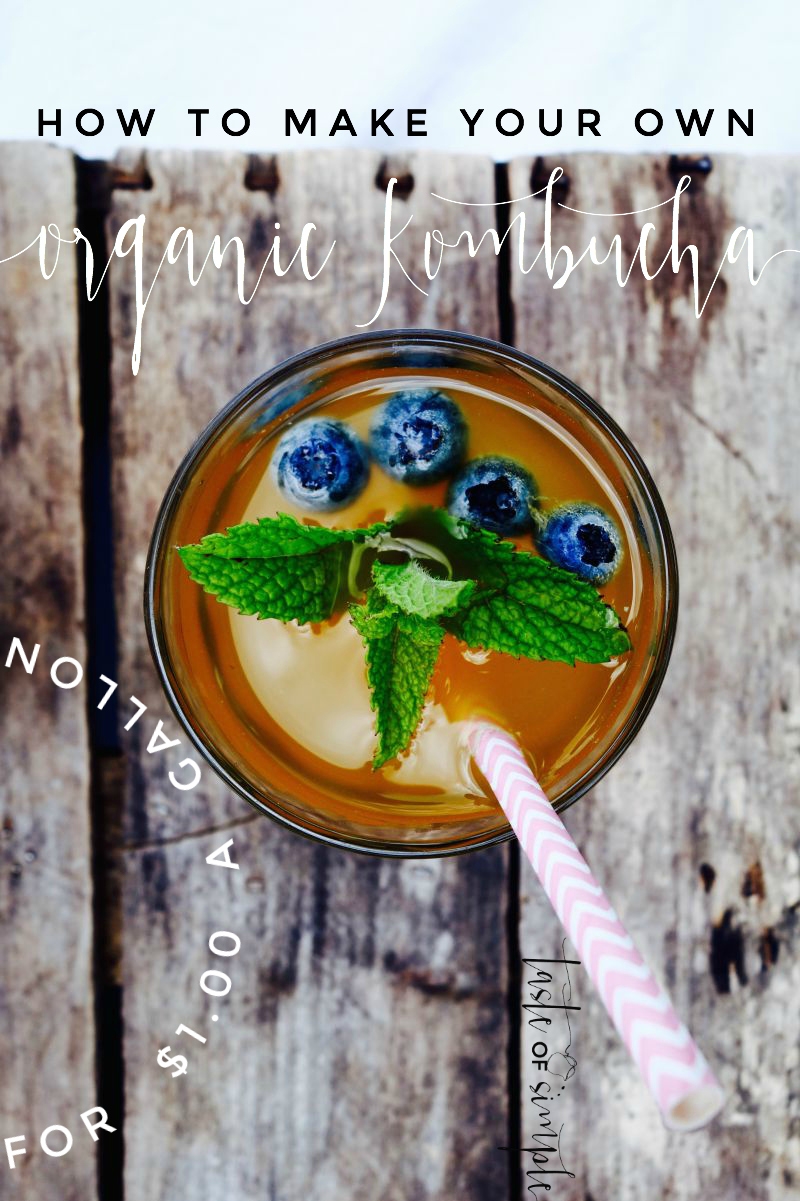
Kombucha costs $4.00/16 oz bottle at the local health food store. That’s $32.00 for a gallon. Using the best ingredients there are, I can make it as good {I think even better} for just shy of $.13/16 oz. That’s $1.oo gallon—97% off the store price. That kind of savings is well worth the 30 minutes/week it takes to put it all together.
In my case, because of the quantity I’m making, it comes out to an hourly wage of $279 or $139.50 for the half hour of my time. The annual savings is something ridiculous. Okay, your savings may not be that substantial, but in any case, if you make a gallon a week, that’s a savings of $31 every week. That’s $1,612/year—just thought I’d let you know.
Making kombucha is easy—not much more difficult than brewing tea with a dollop of yummy add-ons. With a little practice and persistence, perfect, organic, homemade kombucha can become part of your afternoon relaxation routine.
Make it a habit, and see what happens.
It’s worth it.
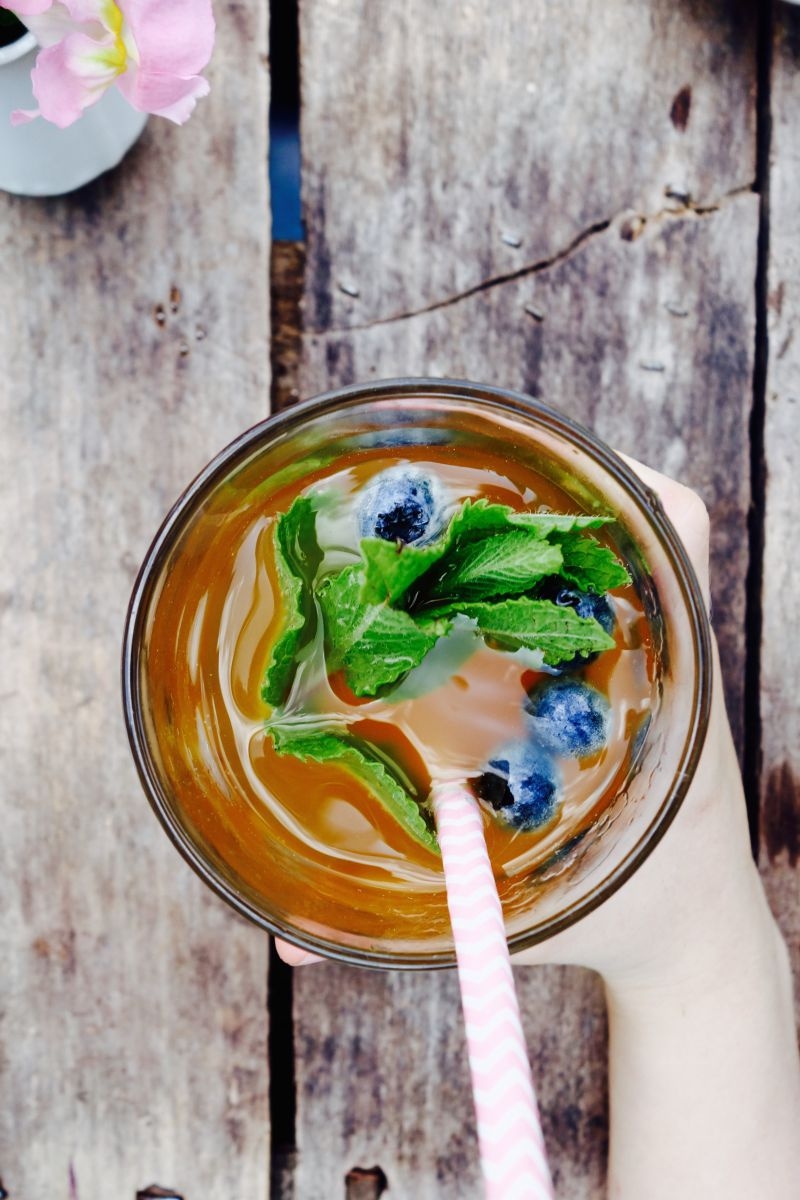
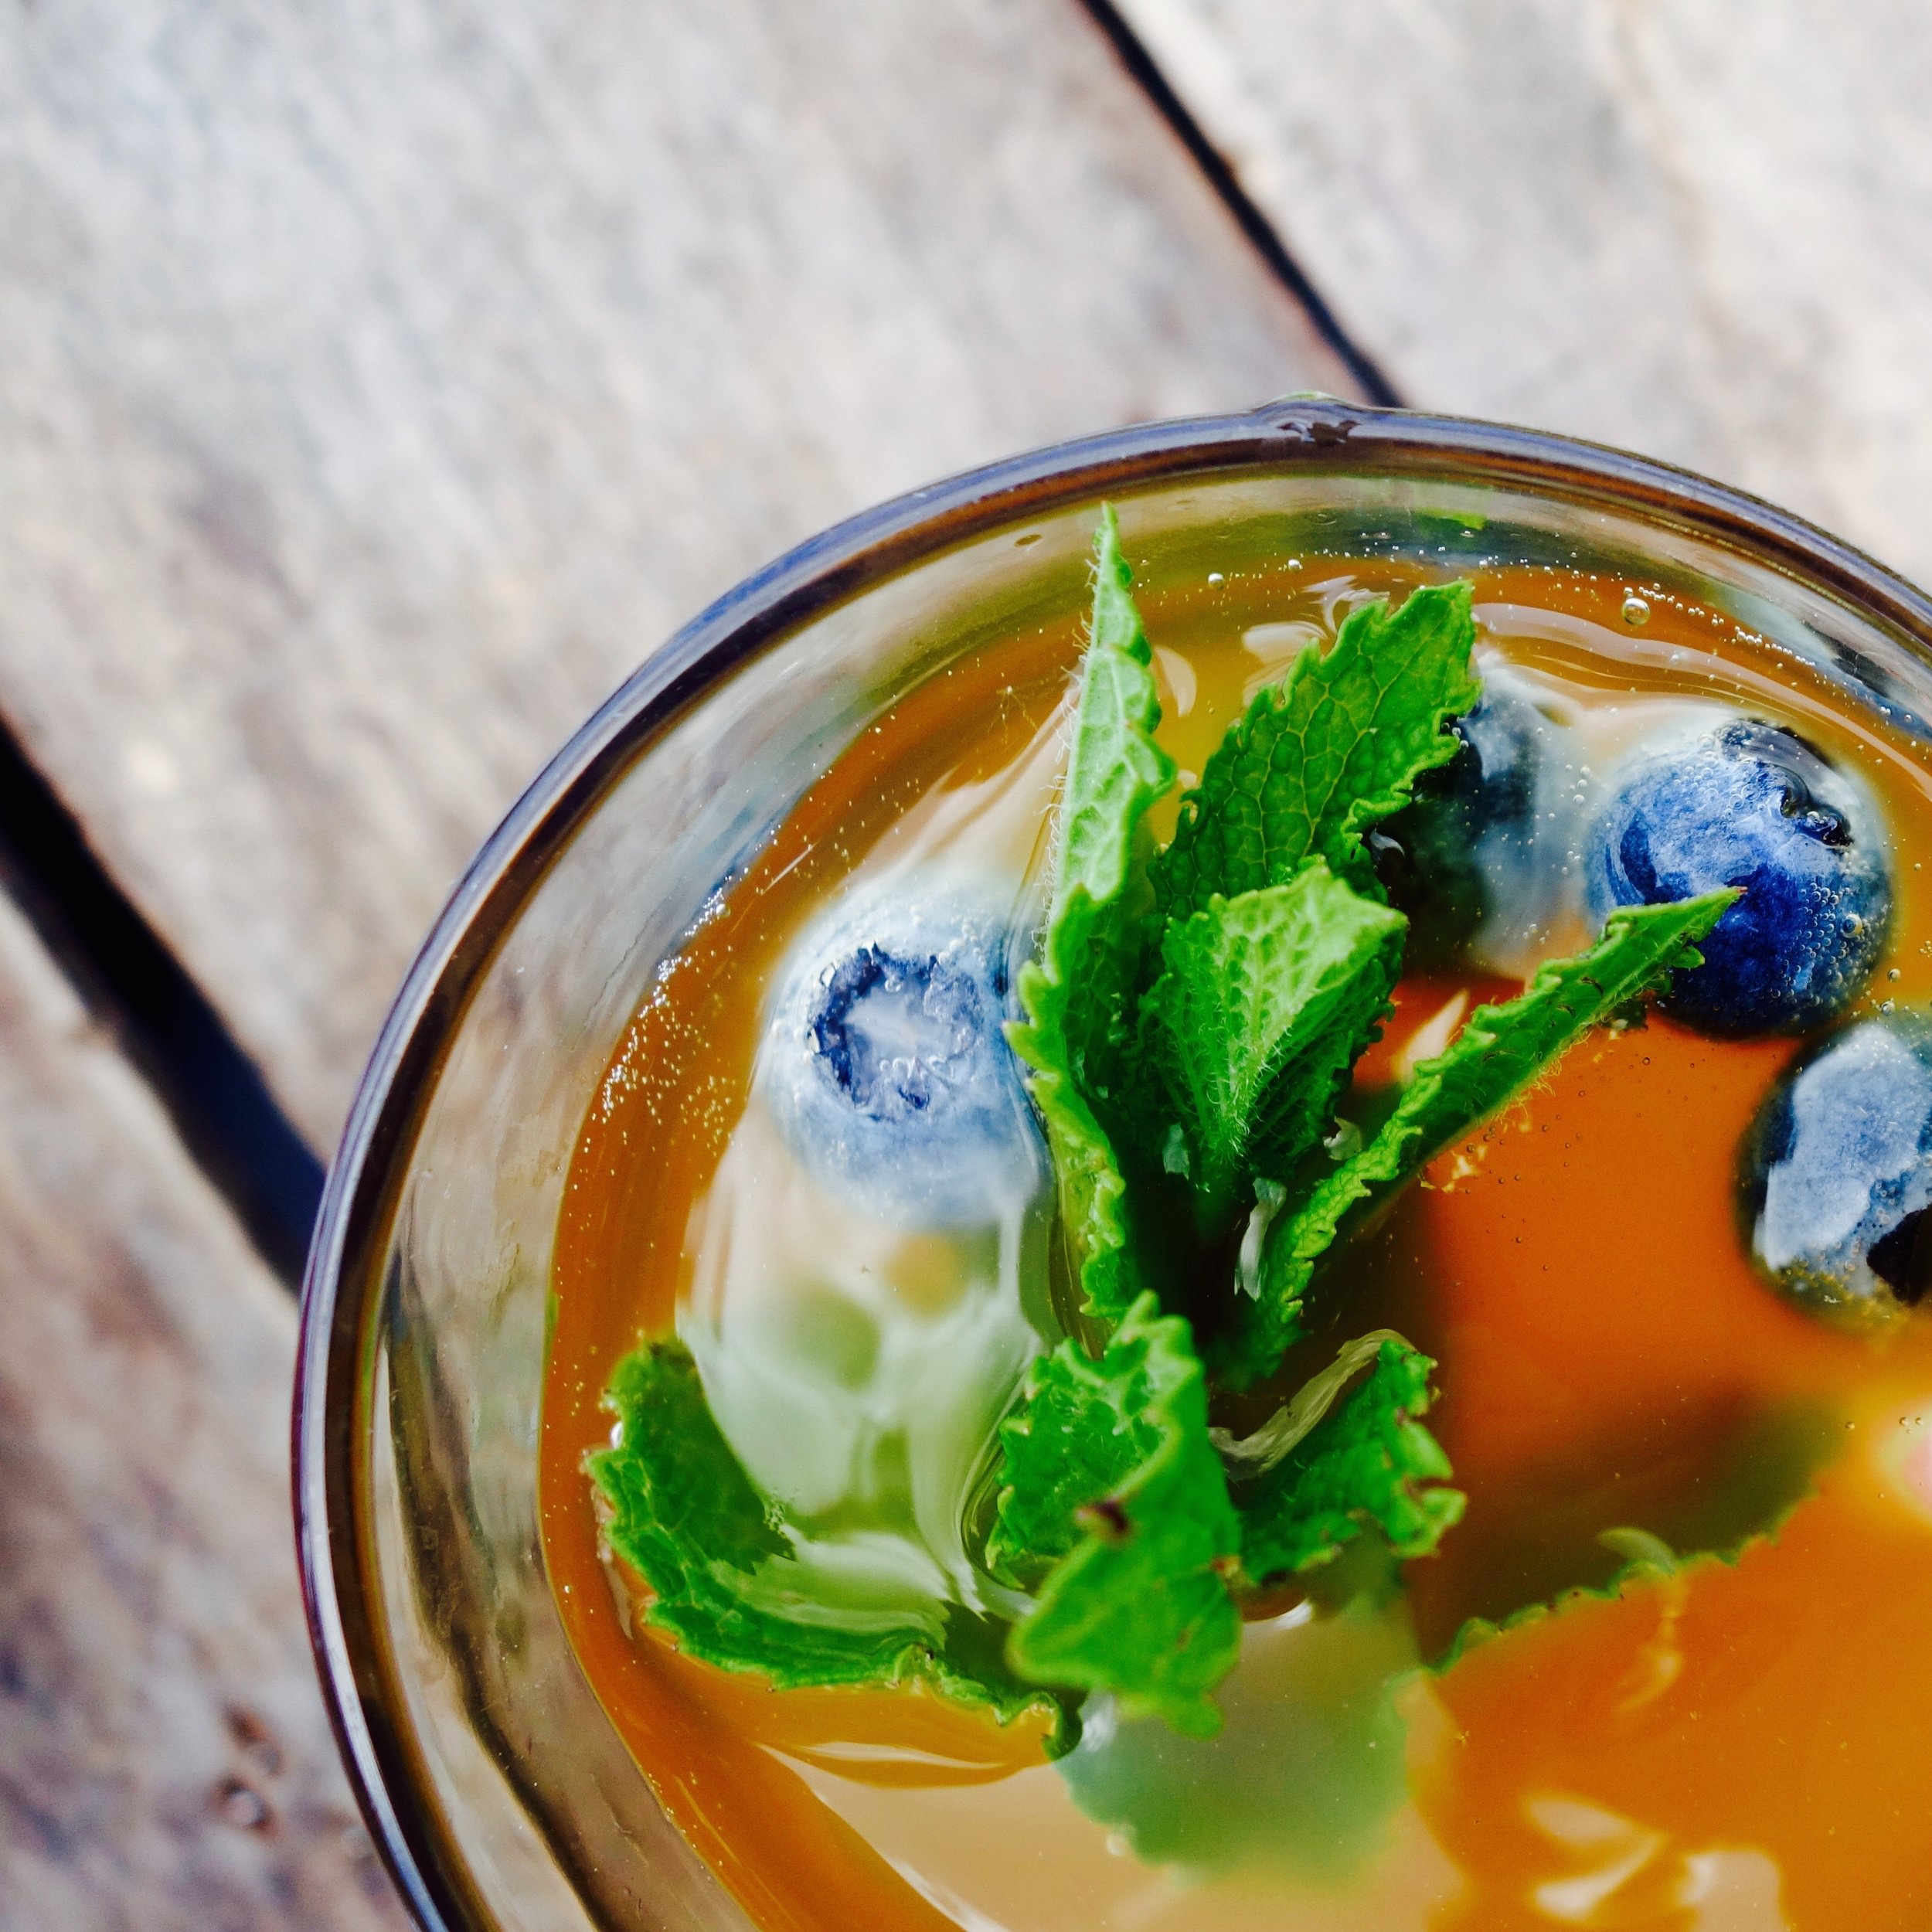
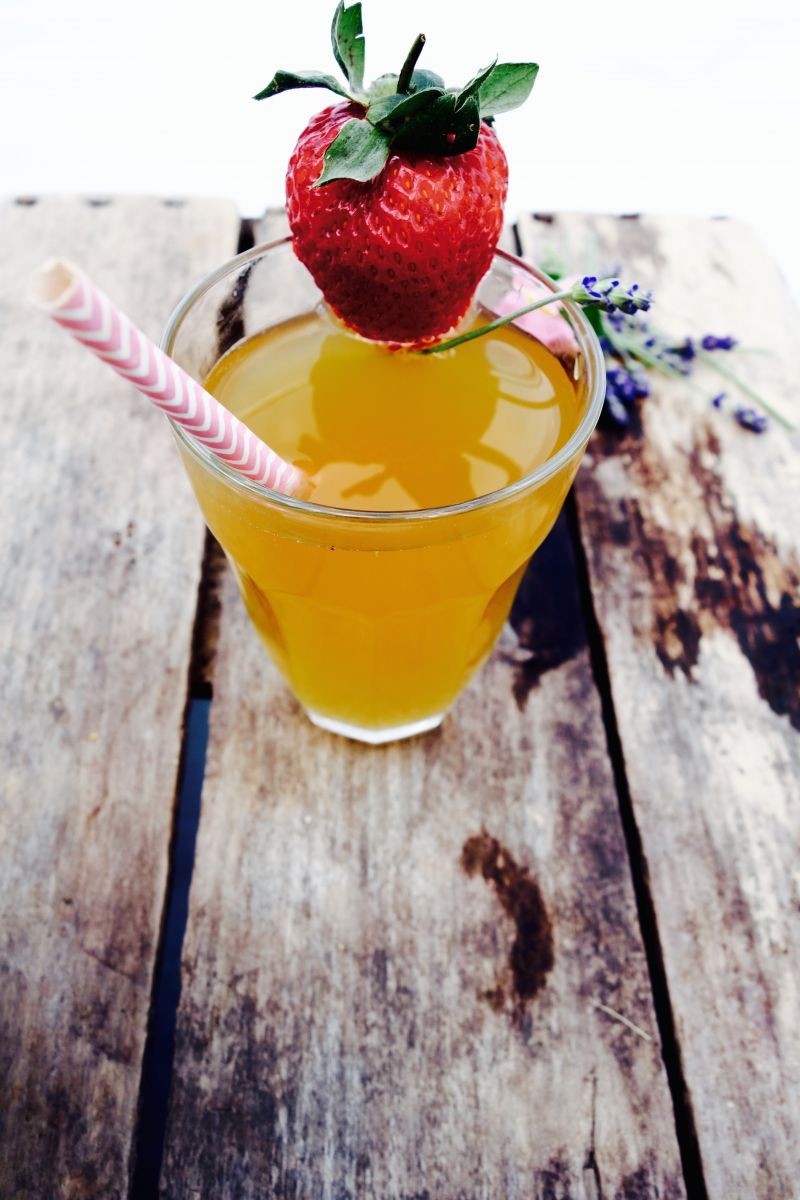
My husband {He’s definitely not the irregular Campbell kombucha drinker.} likens kombucha to ale or soda because of its frothy, tingly nature. It foams, and it has a kick. I call it the perfect afternoon pick-me-up.

KOMBUCHA
Makes 1 gallon.
{Fermentation takes 7 to 37 days.}
Ingredients
3 ½ quarts water {cost: free-ish}
1 cup organic sugar {cost: $.46}
4 tea bags organic black tea (Find it here.), or 3 teaspoons loose tea {cost: $.16}
4 tea bags organic green tea (see variations) (Find it here.), or 3 teaspoons loose tea {cost: $.32}
One kombucha SCOBY (see Notes and Resources) {cost: I’m saying free because after the initial purchase, you can reuse it to infinity}
1 cup starter kombucha, from a previous batch (see notes) {cost: $.06}
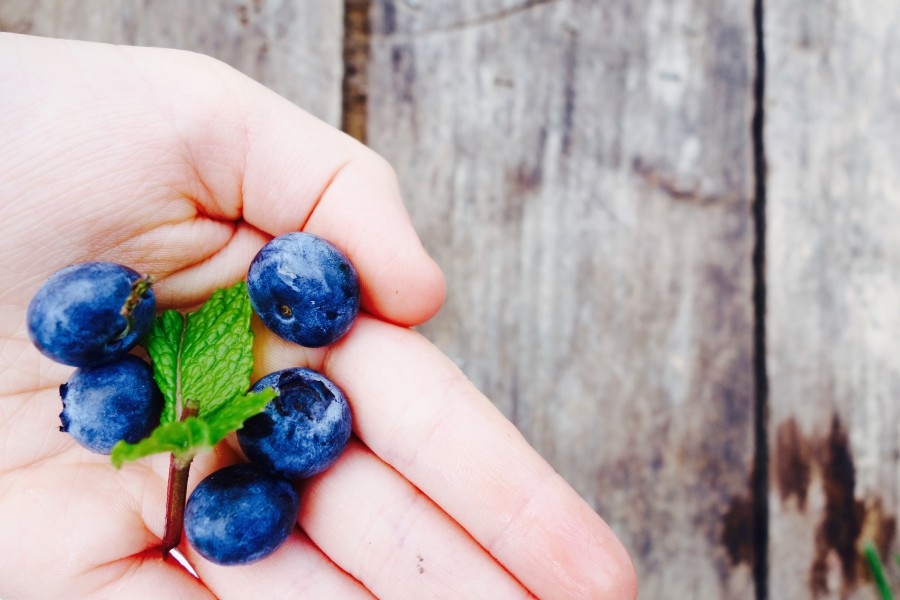
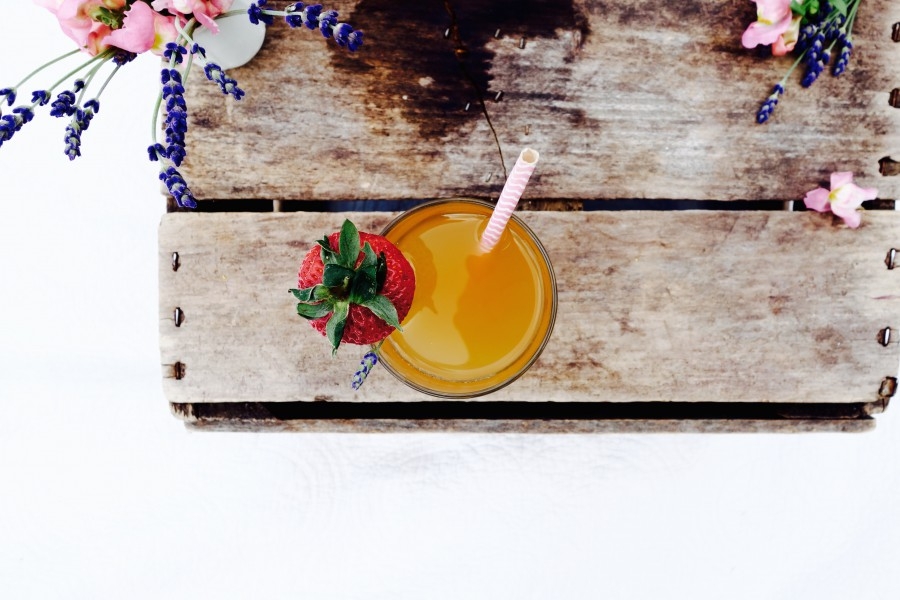
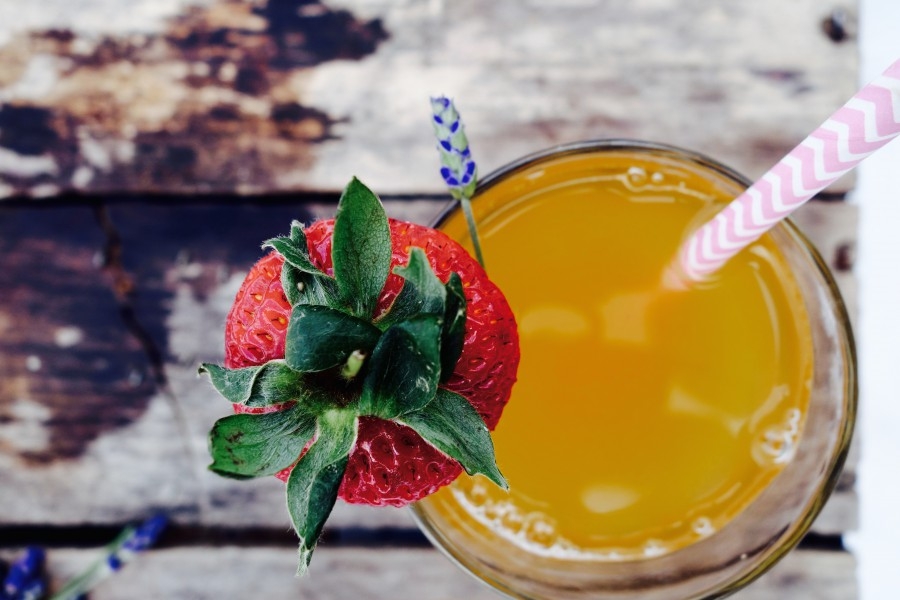
Optional flavorings: dried or fresh fruit, fruit juice, or herbs and spices, such as ginger
Notes
SCOBY is an acronym (symbiotic colony of bacteria and yeast). Imagine a firm, gelatin-like pancake. It feeds on the sugar and tea and creates beneficial acids and probiotics in the process.
If this is your very first batch, 1 cup of a raw, unflavored kombucha drink from your health food store will work in place of the starter kombucha. The 1 cup is a good amount to start with, but you may find you like to use more—the more starter you add, the faster the fermentation process will be.
I don’t make any money on those links up there. It’s where I purchase mine, and it’s the best deal I know of. Passing it on.
Variations
You may replace the green tea with an equivalent amount of oolong tea, or experiment with any tea you like, as long as it does not contain added oils. You may also replace the green tea with more black tea for a basic ferment (I recommend this for your first four batches, to get your SCOBY acclimated).
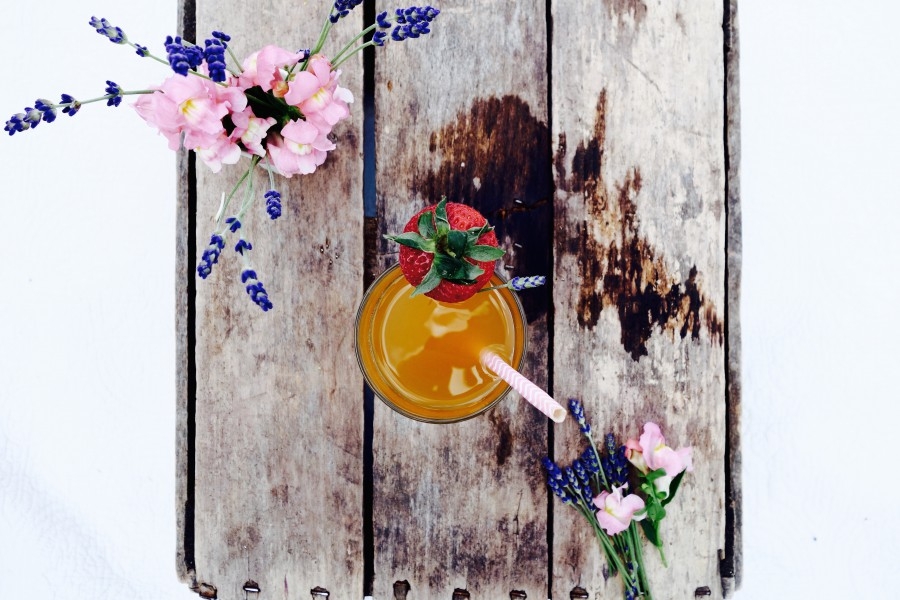
My go-to, all time favorite is to replace two of the green tea bags with St. Dalfour’s Strawberry Ceylon Tea. (Find it here.) This gives the kombucha a pleasant fruitiness, without the cost of fresh fruit and without the need for a second fermentation (explained in step 7).
Equipment
- 1 gallon jar
- cheesecloth, 8″ x 16″, folded in half to make a 8″ x 8″ square {doubling over helps keep out dust}
- rubber band, large enough to fit around the mouth of the jar
- saucepan, large
- measuring cup, 1 cup
- wooden spoon
- funnel
Instructions
1. In a large saucepan or small pot, bring the water to a boil.
2. Add the sugar and stir until dissolved. Add tea bags, or fill a tea ball or reusable muslin bag with loose tea and add. Let brew until no longer hot to the touch. The longer it brews, the stronger its flavor.
{variation: To speed up the process, you may also boil half the water, add the sugar and tea to it, then add the remaining water once the sugar’s dissolved. This will reduce both boiling time and cooling time. I do this.}
3. Add the SCOBY and starter to your 1 gallon jar. Pour in the cooled tea mixture. (The pouring action will be all the stirring that’s needed.)
4. Cover the jar with cheesecloth and secure with a rubber band. Allow to ferment at room temperature, out of direct sunlight, for 7 to 30 days, depending on the ambient temperature (the warmer it is, the faster the fermentation process) and according to your preference for sourness versus sweetness. The longer it ferments and the more sugar breaks down, the more sour your kombucha will get.
I prefer my kombucha at room temperature. To enjoy a nice fizzy, frothy drink with no bottling required, be sure to serve some up right out of the fermentation vessel during the last few days of fermentation.
5. After fermentation is finished, remove the SCOBY from the jar with a large wooden spoon or clean hands. (There’s no need to be particularly gentle when handling your SCOBY.) Transfer the SCOBY to a clean 1 gallon jar. If you would like to start another batch right away, add 1 cup of your fermented kombucha and begin a new batch. If you would like to store your SCOBY for later use, cover it with enough of your fermented kombucha to keep it submerged, cover the jar with a loose-fitting lid (to allow CO2 to escape), and store in a dark, warm place.
To keep your stored SCOBY viable, you will need to feed it periodically with a small amount of tea and sugar: every 4 to 6 weeks remove half of the liquid and replace it with the same amount of freshly brewed and cooled sweet tea. Fed and stored this way, your SCOBY will be fine for many months, until you’re ready to use it again.
6. Pour the fermented kombucha (using a funnel) into glass jars with tight-fitting lids, leaving 1 inch of headspace. (I use mason jars, but you can also use swing-top bottles, which will create a tighter seal and increase the fizziness.) If you will be adding a flavoring, save additional space for it, about 10% of each jar’s volume. You can pour the kombucha through a strainer, if desired, or leave the beneficial yeast strands in your drink.
7. If the kombucha has already reached your ideal sweet–sour ratio on the first fermentation, simply cap and refrigerate. If you would prefer carbonation or if you’re adding flavoring, a second fermentation is required. To flavor your kombucha, add the desired flavoring to the filled jars, keeping in mind a rough proportion of 10% flavoring to 90% kombucha and leaving 1 inch of headspace. Cap the plain or flavored kombucha and let ferment at room temperature for another 2 to 7 days, uncapping every 1 or 2 days to release the accumulated CO2. When your desired flavor and carbonation have been reached, strain out any solids, recap, and refrigerate. Your finished kombucha will keep for 3 months or more in cold storage, but if you’re anything like me, it will barely last until the next batch is ready.
Now give yourself permission to kick back and relax with some fizzing, frothing goodness.
Resources: Starter Cultures & Supplies
* Ebay and Etsy are excellent places to find high-quality, inexpensive ferment starters. Just search “kombucha SCOBY” and “water kefir grains.” Look for a seller with a high rating so you know you will be getting the best product.
* Cultures for Health [culturesforhealth.com] has a large selection of starters, supplies (such as swing-top bottles, sieves, and just about everything else fermentation-related). The website contains an abundance of information and videos to get you started or to fill in any gaps as you’re going through the process.
* Kombucha Kamp [kombuchakamp.com] has a wide variety of starters, kits, and supplies—not just for kombucha—and a video series to guide you.
* Yemoos Nourishing Cultures [yemoos.com] offers starter cultures, including kombucha SCOBYs, kefir, ginger and sourdough.
This is only a starting point. The sky’s the limit. Experiment. Have fun. And enjoy!
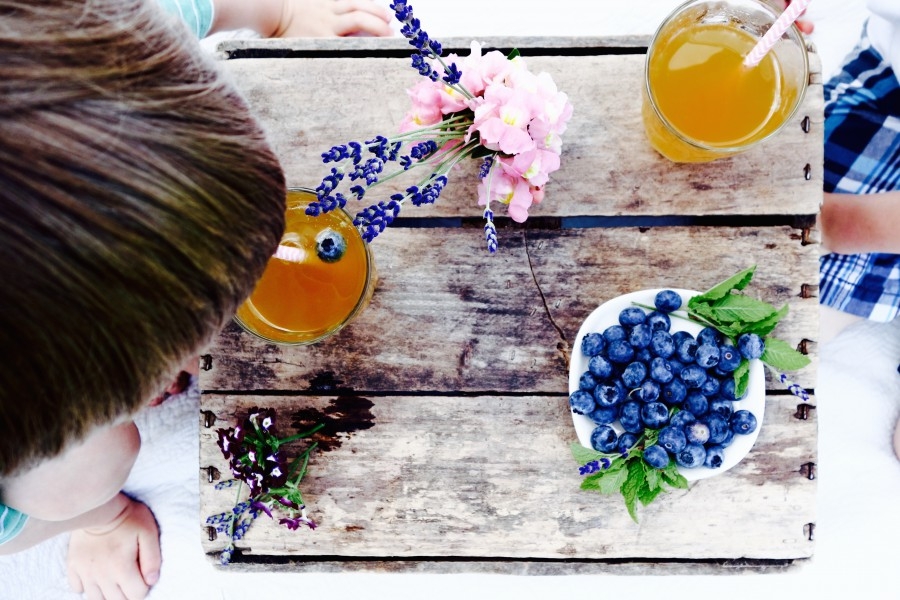
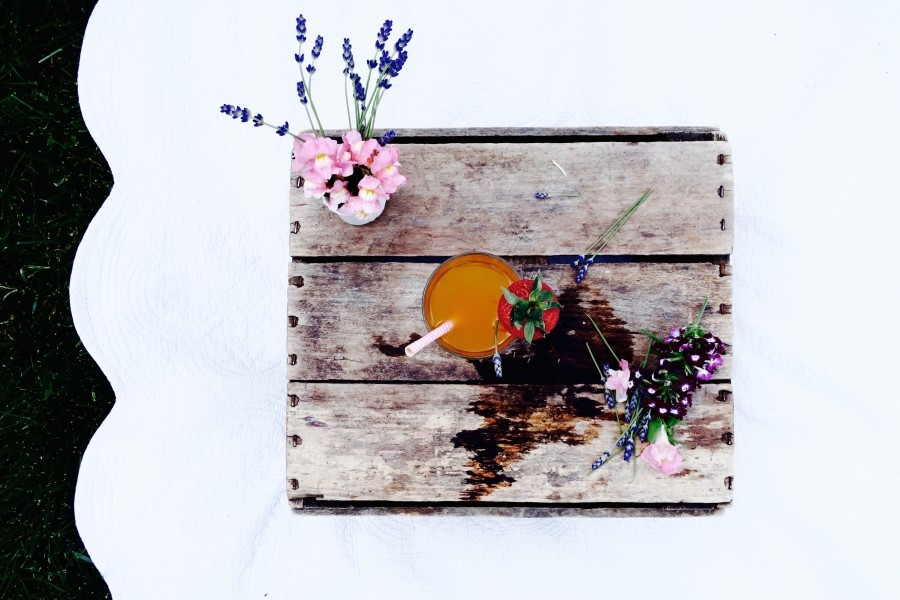
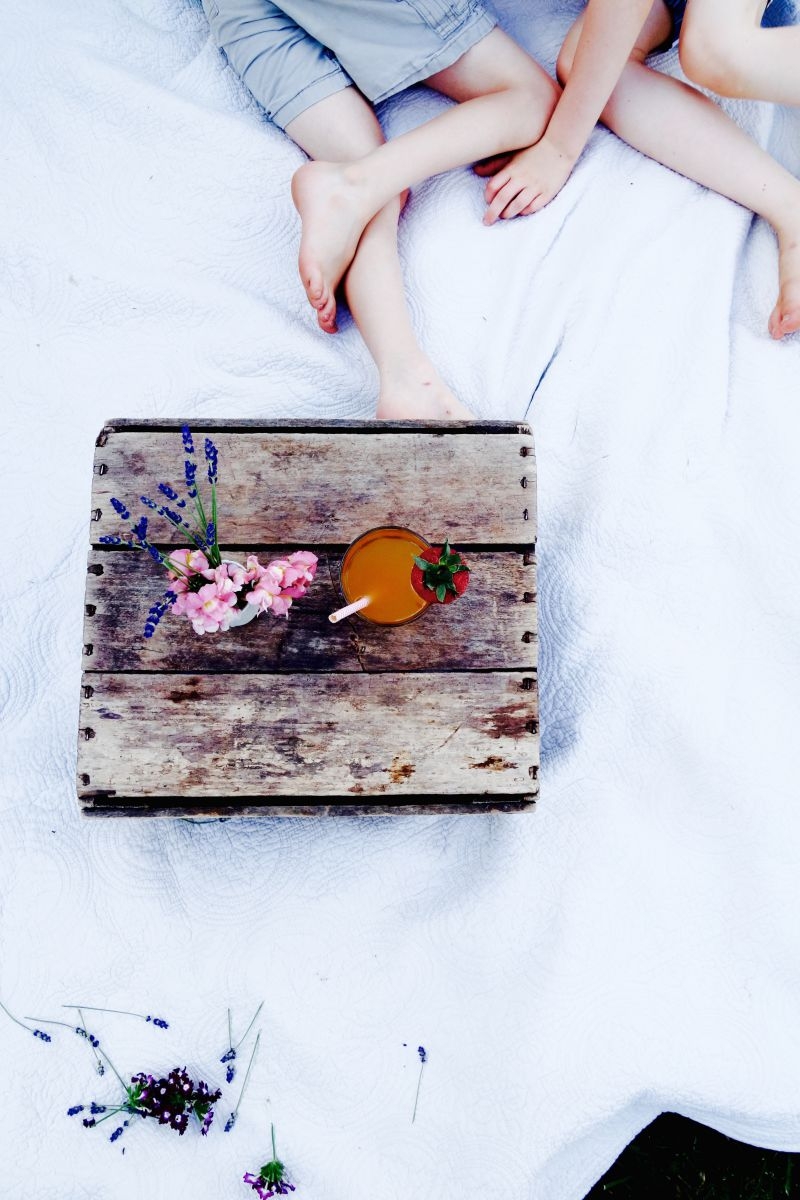
Create a little source of relaxation and recharge just for you [and anyone you’d love to share all the deliciousness with].
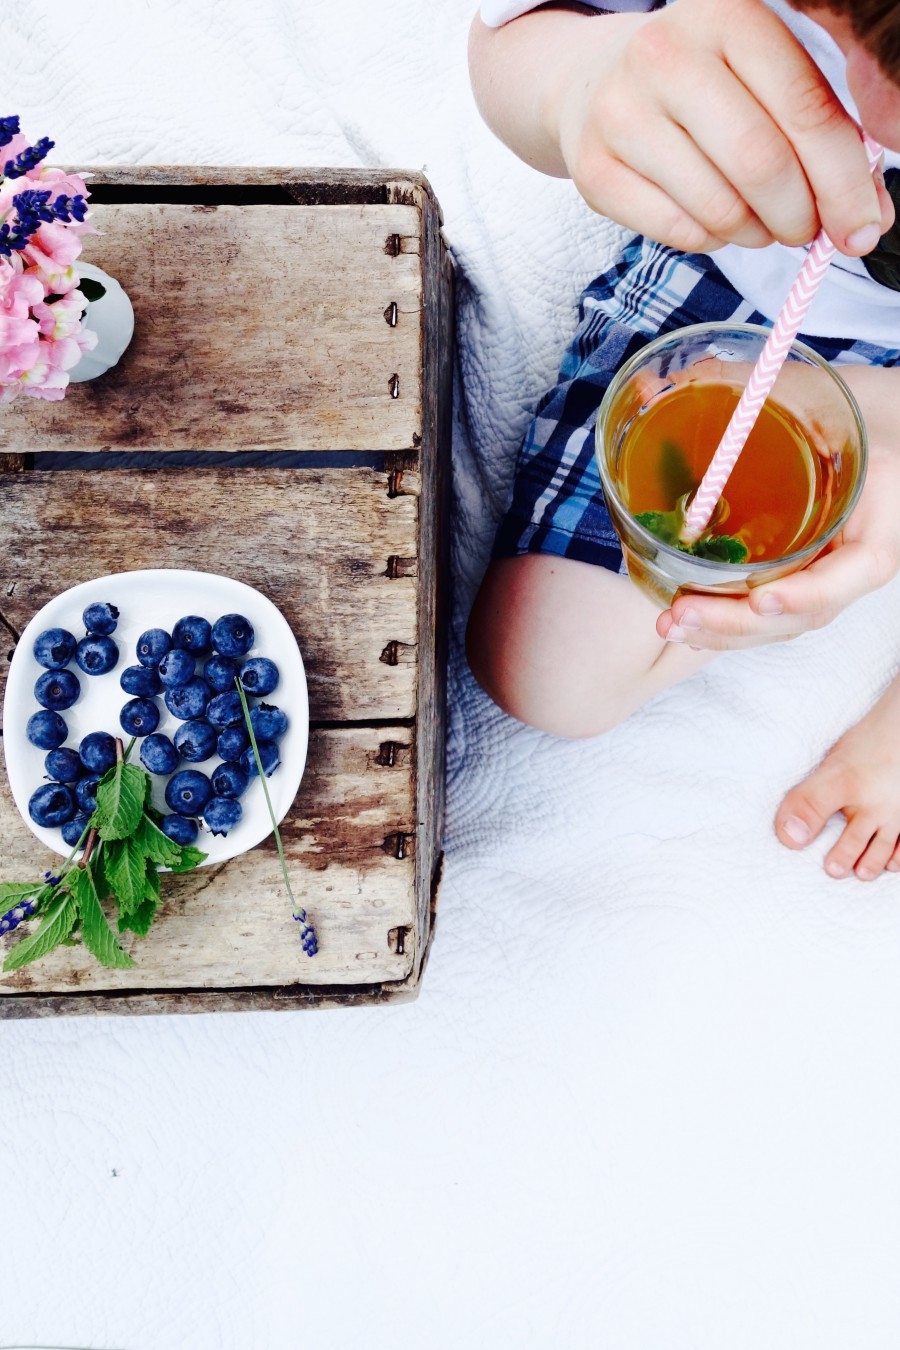
Fill a glass with your own organic, home-brewed kombucha. Pour some for the kids. Find your sweet spot.


you said: